No brines, no oven bags, and no basting while cooking. This oven roasted turkey recipe relies on the fact that turkey is wonderfully self-basting while cooking. Here you’ll find simple techniques to produce a delicious bird on the table every time.
It took me years of trying various approaches before I realized that – short of deep frying a whole turkey (easily one of the best and tastiest methods) – it was actually relatively easy to produce a juicy, tender bird with crispy skin. The best part is that it requires almost no fuss!
One approach like brining is great (especially for smoking) if you have space, time, and effort. It adds moisture and sometimes flavor to the bird so that less is lost during the cooking process. I don’t know about most people, but as the years progress, I have less and less time on my hands, so I don’t brine large dishes unless I have to anymore.
Oven bags have consistently turned out the worst turkeys I’ve ever had because they tend to sort of steam the turkey and the result is a bird that won’t keep its shape because it’s falling off the bone while the skin is unappealingly soggy.
As I mentioned, turkeys are fat birds and thus self-basting. When the natural fat in their bodies melts through cooking, it seasons and flavors the meat without you having to do anything. Nonetheless, if we lightly season and add a bit more fat to the process before roasting using this recipe, we can increase the gains for a perfectly juicy, tender, and crispy skinned turkey.
Don’t be discouraged by the length of the steps of this recipe because it’s actually fairly straight forward. The details below all come down to:
- Slather the turkey skin in butter;
- Roast using a meat thermometer or proper timing;
- Protect the breast so that it doesn’t overcook while the thigh meat finishes; and
- Let it rest before carving up an amazing turkey!
Traditional Roasted Turkey with Crispy Skin and Juicy, Tender Meat
Perfectly Roasted Turkey
Ingredients
- 1 whole turkey (12 – 20 pounds serves 8 to 20 people respectively)
- 1 stick of butter
- Kosher Salt
- Black Pepper
- 1/2 cup of chicken or turkey stock
- Optional: Herbs like thyme, rosemary, and/or sage to infuse into the butter (I used dried thyme)
- Optional: 1 or two large onions or 2 lemons to place in the cavity of the turkey (I used onions)
Equipment
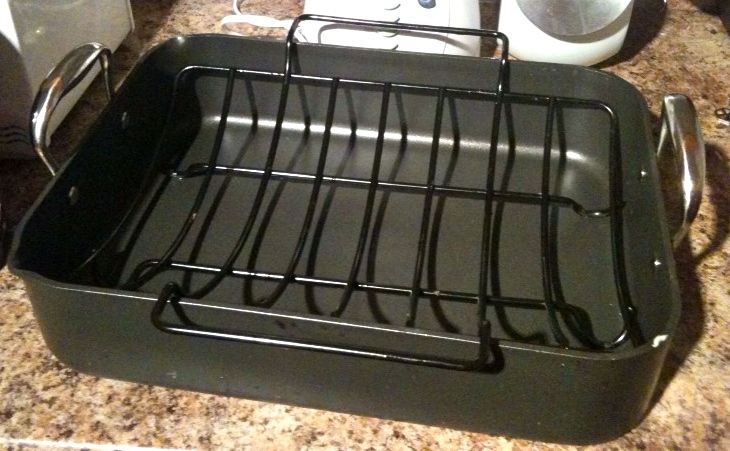
- Large roasting pan with a raised insert
- Aluminum foil
- Small knife
- Small bowl
- Oven safe twine
- Meat thermometer (a digital temperature probe that can be left in the turkey and read without opening the oven is highly recommended)
- Optional: Latex food safe gloves
Directions
- Before getting the turkey ready, take out a stick of butter and let it sit out at room temperature until it is soft.
- Once soft, you can optionally combine the butter with fresh or dried diced herbs. I personally like to use dried thyme in the butter. You don’t need much so try a 1/2 teaspoon and mix it with the softened butter. The thyme will add a nice complimentary flavor to the turkey, but you can also use sage or rosemary or anything else that you think might work. Just remember that the butter is more important than the herbs, so keep the herbs minimal.
- If the turkey was frozen, make sure it has defrosted in the fridge for 3-4 days before you intend to cook it (roughly 24 hours per 5 pounds). Fresh turkeys can be used right out of the fridge.
- If your turkey is in plastic, remove it from the packaging and make sure to remove the giblet bag (the sack filled with the organs and neck). Save the neck to place it in the bottom of the roasting pan.
- As an optional, but recommended step, I like to give the turkey a quick rinse under cold water. Don’t let the water get under the skin, but rinse off any excess juice or blood. Don’t overdo it though. Then, pat dry the turkey with some paper towels so the skin has no excess moisture. This will help to crisp up the skin.
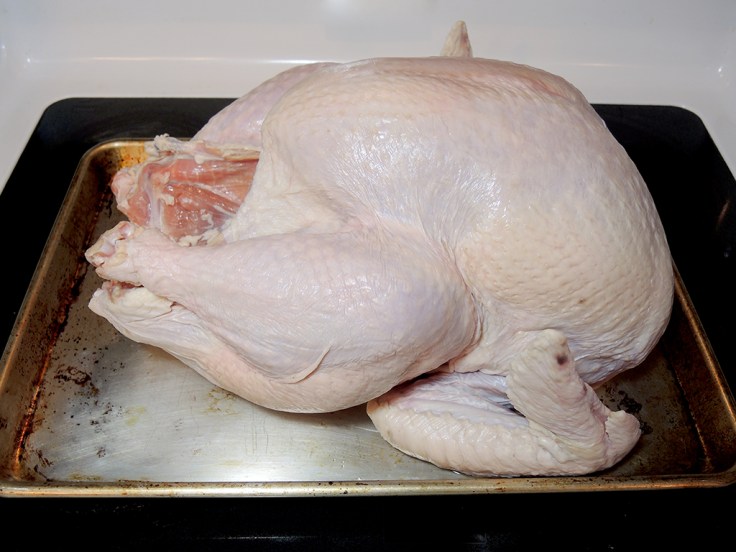
- Whether you rinsed the turkey or not, place the turkey in the roasting pan on the raised insert (using a pan with a raised grill insert will help the turkey cook more evenly as well as help to crisp the skin).
- Pre-heat the oven to 335 degrees F. Use the convection setting if you have it!
- If you prefer, use food safe latex gloves to start rubbing the softened butter on the outside of the skin as well as between the skin and the meat. The butter doesn’t need a thick layer to work. The key is just to use as much butter as needed create a thin layer above and below the skin. The butter on the outside will help to crisp the skin while the butter under the skin will flavor the meat and keep it moist.
- Lightly salt and pepper the outside of the skin, but not under the skin.
- Place a 1/2 cup of chicken or turkey stock in the bottom of the pan along with the turkey neck. You can use the drippings from the turkey and the flavoring of the neck after the turkey is done to make a really nice gravy, but this recipe is all about the turkey.
- Place one or two halved onions (or halved lemons or both) in the cavity of the turkey (they should be loose, not packed in there). Optionally, add a few springs of fresh thyme or whatever herbs you used in the butter. This adds a little fragrance to the interior, but it’s not required. Do not stuff the turkey with stuffing. Not only does the USDA recommend against this practice for food safety reasons, but it may also cause the turkey to take longer in the oven. which can dry it out. Just make your stuffing on the side.
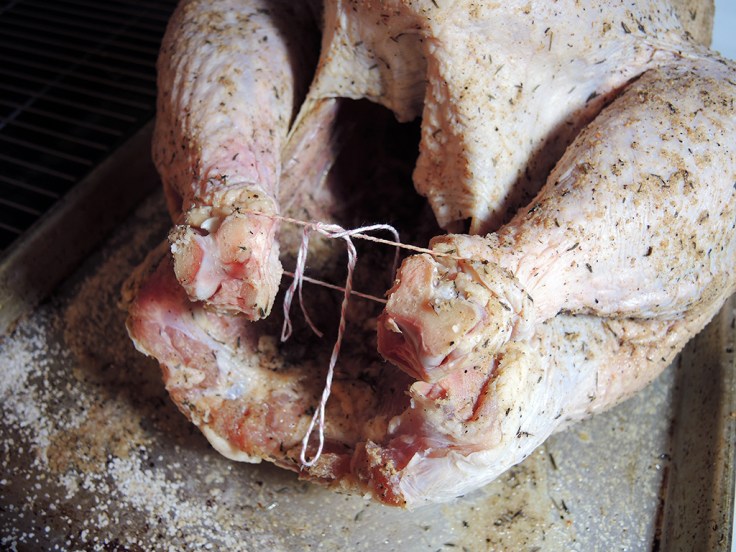
- Tie the legs of the turkey together using oven safe twine or even aluminum foil. This will keep the Turkey’s shape.
- If you have a properly heat resistant digital meat thermometer that can be read without opening the oven (ideally two or one with two probes) then place one probe deep in the fleshiest part of the turkey breast without hitting the bone. If you have a second probe, place it deep in the thigh of the turkey, again making sure not to hit bone. These two areas (the thigh and breast) are the most important areas to check for temperature. If you don’t have a meat thermometer then try and use time as your benchmark and cook the turkey for roughly 15 minutes per pound.
- With the turkey buttered and meat thermometers in place, put the turkey in the preheated oven on the middle rack adjusted so that the turkey is in the middle of the oven.
- Let the turkey roast in the oven until the breast reaches 150 degrees F. At that point, take the turkey out of the oven and cover only the breast area tightly with aluminum foil. This helps to slow down the cooking process of the breast so that the thigh (which usually takes longer to cook) has time to catch up and come to temp. Again, if you don’t have a meat thermometer and are using time to judge the turkey, cover the breast for the last 45 minutes of cooking. If the legs (not the thigh) are looking pretty well cooked where the meat is pulling away from the bone, you can also put a little foil on them to keep them from drying out, but don’t stress about it. Legs are forgiving because they’re always good!
- Check the turkey periodically until the breast reaches 165 degrees F and the thigh reaches between 165 F and 180 F max. Some recipes say that the thigh needs to be 180 F, but the revised USDA standards say that 165 all over is safe. Staying close to 165 will also yield the juiciest turkey. Again, a turkey will typically take about roughly 15 minutes per pound.
- When the turkey is at 160 F, check the color. If you want a little more color, lose the aluminum foil, crank up the temperature to 425 degrees F, and let it roast for another 5 – 10 minutes or so to brown up. Otherwise, just let it ride until 163-165 F. The turkey will continue to cook after taking it out of the oven, so don’t let the temp go beyond 165 F. You can even take the turkey out at 160-163 F or so so that the breast stays close to 165 F even as it continues to cook a bit out of the oven.
- Then remove the turkey from the oven and tent it with aluminum foil (that means loosely place some foil over it, but don’t cover it tightly or seal the foil down) to let it rest for at least 20 minutes to an hour before carving/serving. This will allow the juices to redistribute in the turkey.
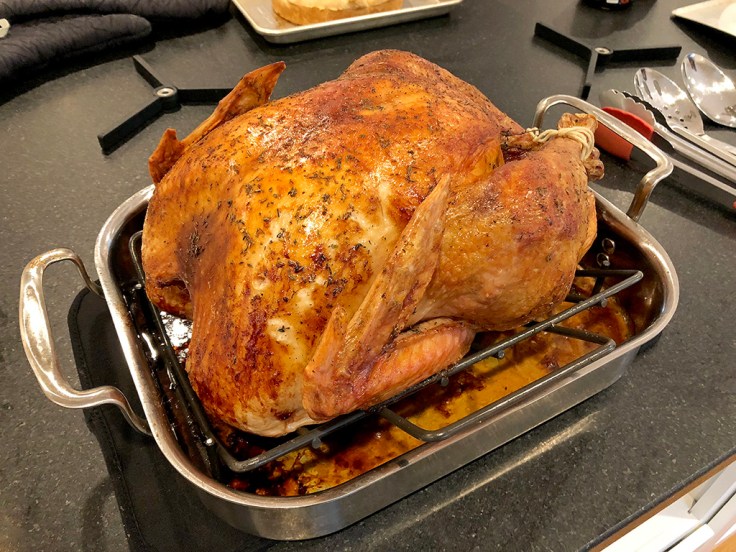
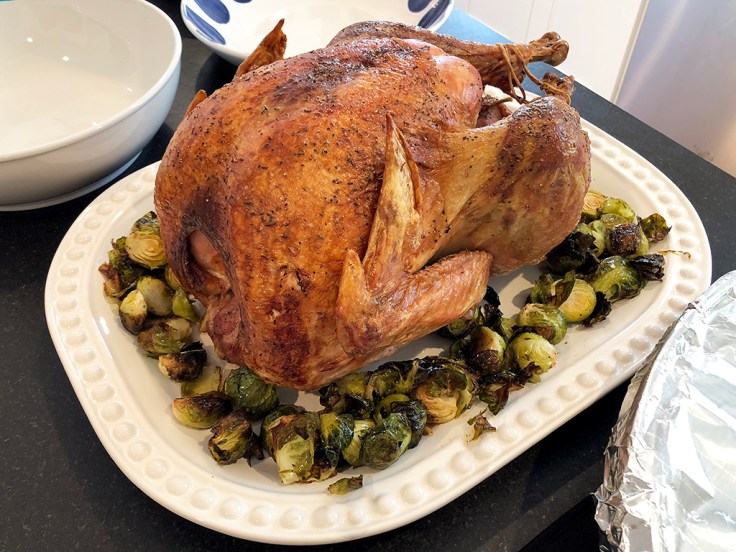
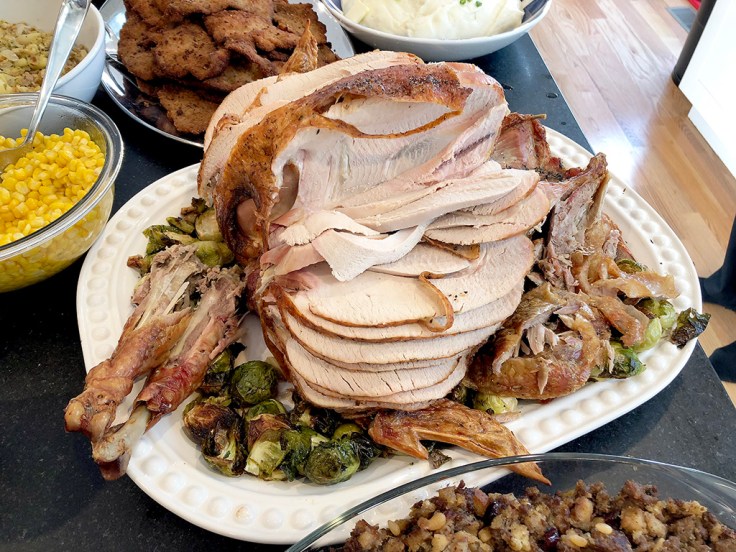
- Carve and serve the juiciest, no frills turkey, you will probably ever make.
_______________________________
Please Support Home Is A Kitchen!
If you enjoyed this recipe, please support the blog by subscribing to receive updates on the latest posts.
No spam. Just real updates on recipes, restaurant reviews, travel, and free giveaways!
![]()
![]()
![]()
![]()
_______________________________

Leave a Reply