Apple cider and apple cider doughnuts are the junior harbingers of fall in New England. They may not have the popular vote like pumpkin-spiced anything, but they do have their loyal constituents that seek them out when the changing leaves signal their return. Apple orchards looking to peddle more apple products often have boxes or bags of apple cider doughnuts ready for sale as people pay for their freshly picked bushels of apples.
If you’re like me, you always pick way too many apples after eating way too many apples during the picking. When I come home there is a giant bag filled with assorted apples that I slowly realize I can never possibly finish. That is when the creativity sets in and you start making pies, strudels, apple crisps, and even just plain roasting them so they don’t spoil. Many people don’t think of it, but Apple cider doughnuts are an excellent way to use up some of those extra apples lying around if you like fresh apples in your pastries. You could even make your own cider if you have a juicer or cider press.
My favorite thing about this recipe is that it uses fresh apples to give the doughnuts even more apple flavor. My second favorite thing about this recipe was just a happy accident. It turns out that these doughnuts have phases of flavor. Right from the fryer they taste like apple-infused carnival doughboys and when they cool they start to take on a more typical doughnut flavor. By the next day, the texture tastes like old-fashioned cake-style doughnuts. Each flavor-phase is delicious and really makes these doughnuts versatile depending on what you like.
Makes about 8 doughnuts and 8 doughnut holes.
Each doughnut is roughly 303 calories and
Each doughnut hole is roughly 76 calories.
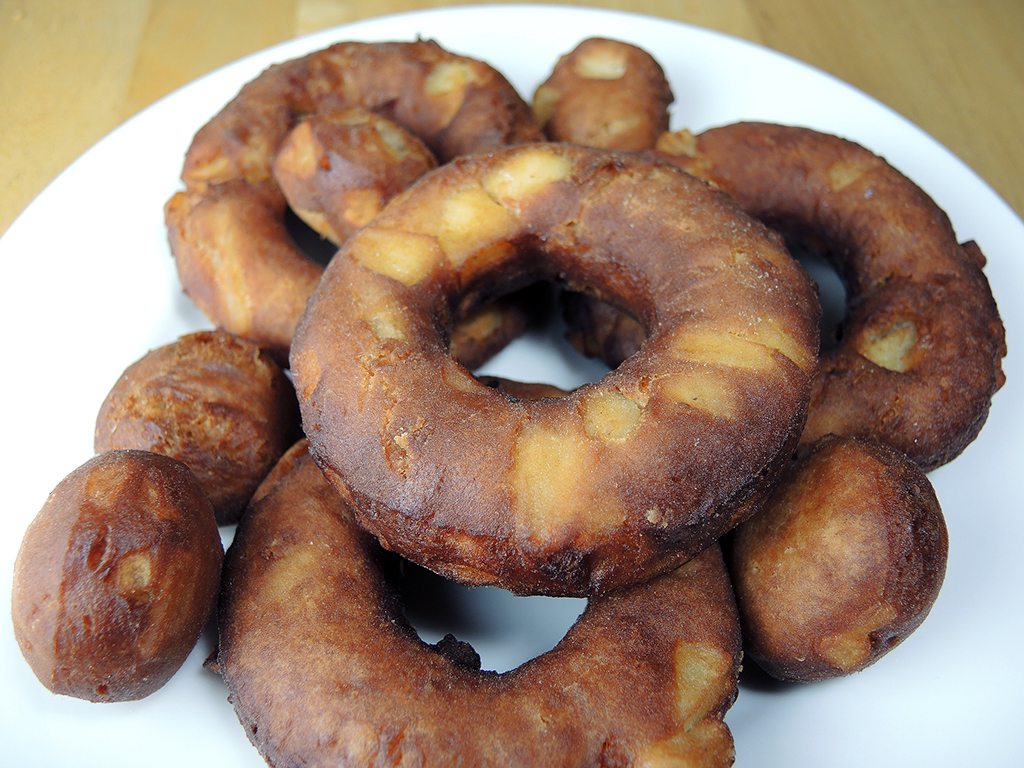
Apple Cider Doughnuts Recipe Made with Fresh Apples
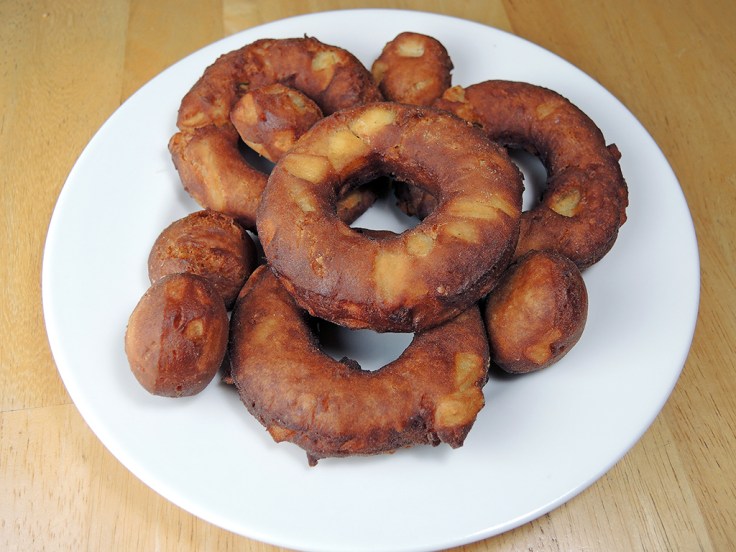
The taste of Autumn in a Doughnut.
Ingredients
- 1 and 3/4 cups of flour plus a little bit of extra flour (700 calories)
- 2 teaspoons and 1/2 teaspoon cinnamon
- 1/4 or 1/2 teaspoon freshly grated nutmeg
- 1 teaspoon baking powder
- 1/2 teaspoon baking soda
- 1/4 teaspoon salt
- 2 tablespoons of butter (200 calories)
- 1/2 cup of white, granulated sugar (360 calories)
- 1 large egg (70 calories)
- 1/4 cup of whole milk or buttermilk or almond milk (37, 25, and 10 calories respectively)
- 1/2 cup of apple cider (60 calories)
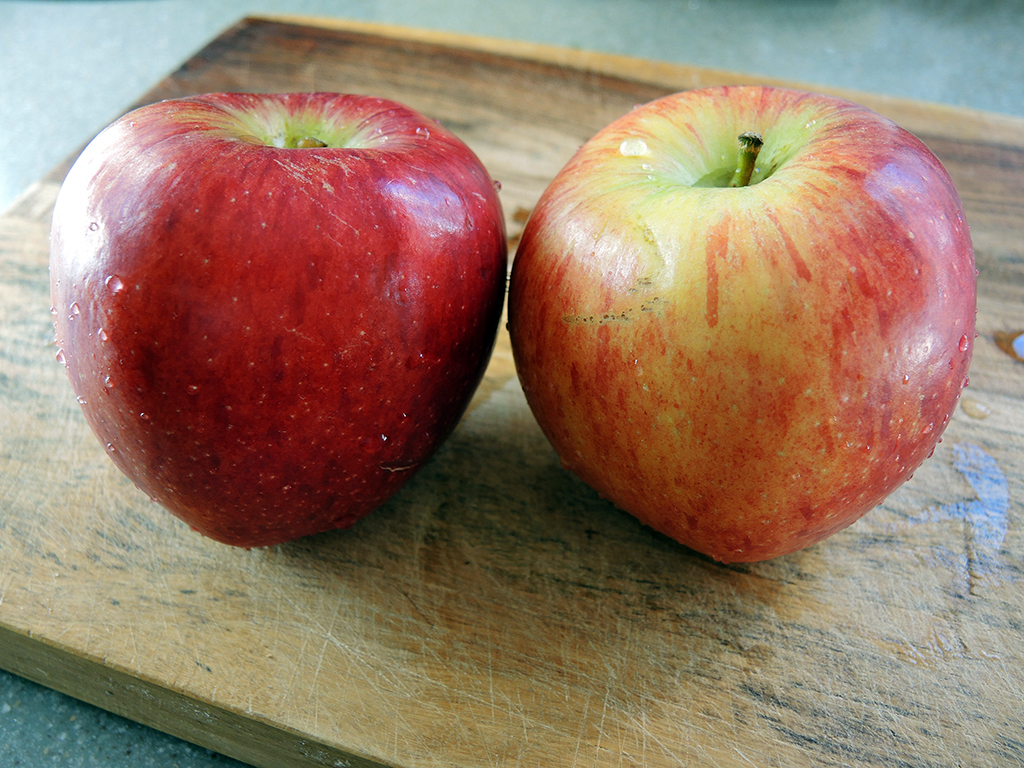
- 1 Honeycrisp apple (80 calories)
- 2 or 3 cups of vegetable oil (about 1 cup absorbed = 1920 calories)
Note: If you keep your temperature right, you could potentially absorb less oil. - Optional: powdered sugar
Equipment
- Two large bowls
- Baking sheet
- Parchment paper
- Saute pan
- Knife
- Cutting board
- Vegetable peeler
- Doughnut or cookie cutters
- Freezer
- Small pot
- Ladle, slotted spoon, or tongs
- Paper towels
Directions
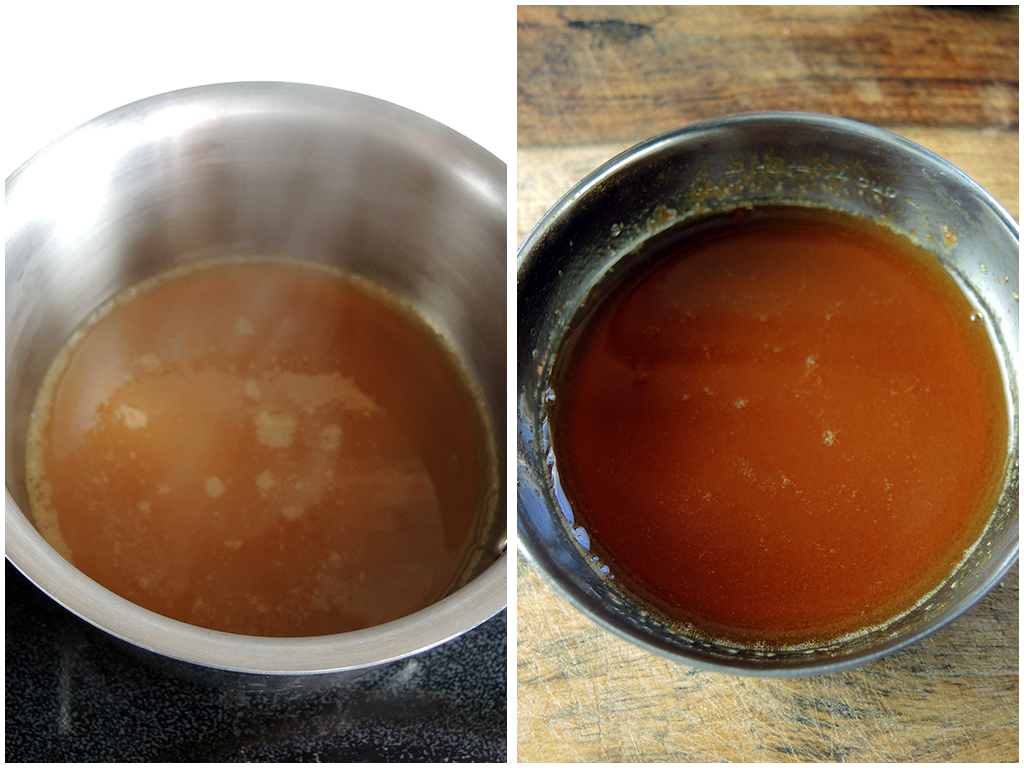
- In a small pot, bring 1/2 cup of apple cider to a simmer for about 10-12 minutes on medium-low heat, stirring occasionally so it doesn’t burn. The goal is to simmer the apple cider until it becomes slightly like a syrup and is down to about 1/8 of a cup. Once done, set the apple cider aside to cool.

- Peel, slice, and remove the seeds from a honeycrisp apple. Then chop up the pieces so that they are about 1/4 inch in size.

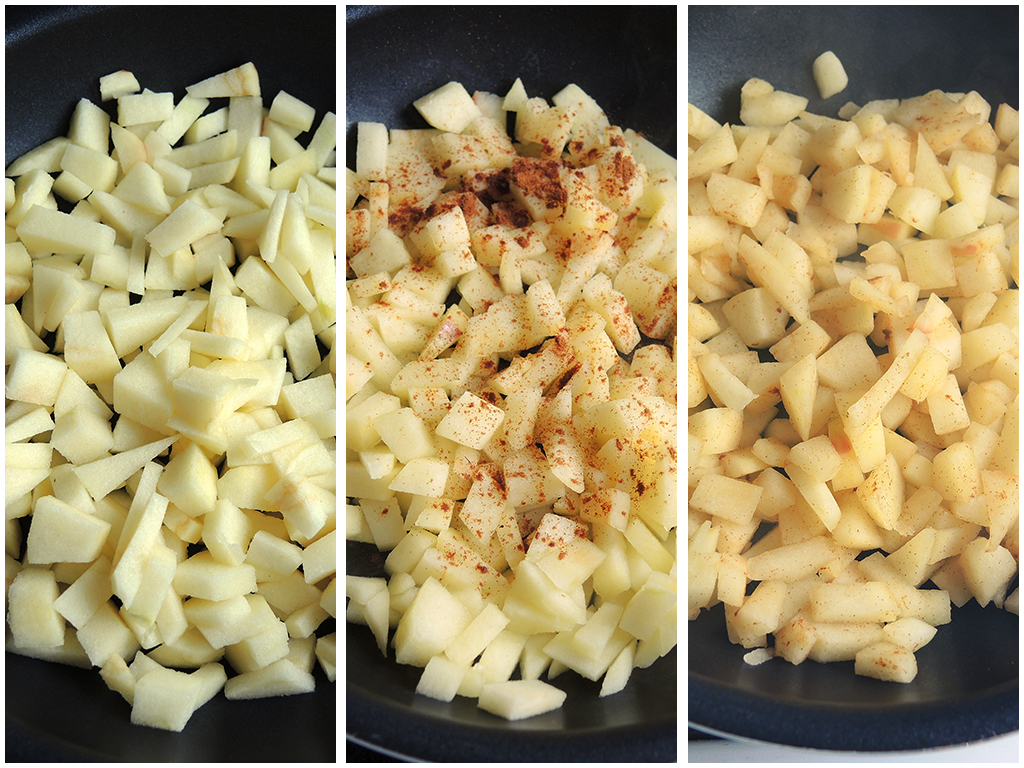
- Place the apples in a saute pan and cook them on medium heat until they start to soften. Then add in 1/2 teaspoon of cinnamon before mixing the apples together. Continue cooking the apples for a few more minutes until they have softened slightly, but aren’t mushy or fork tender. Set them aside and let them cool.

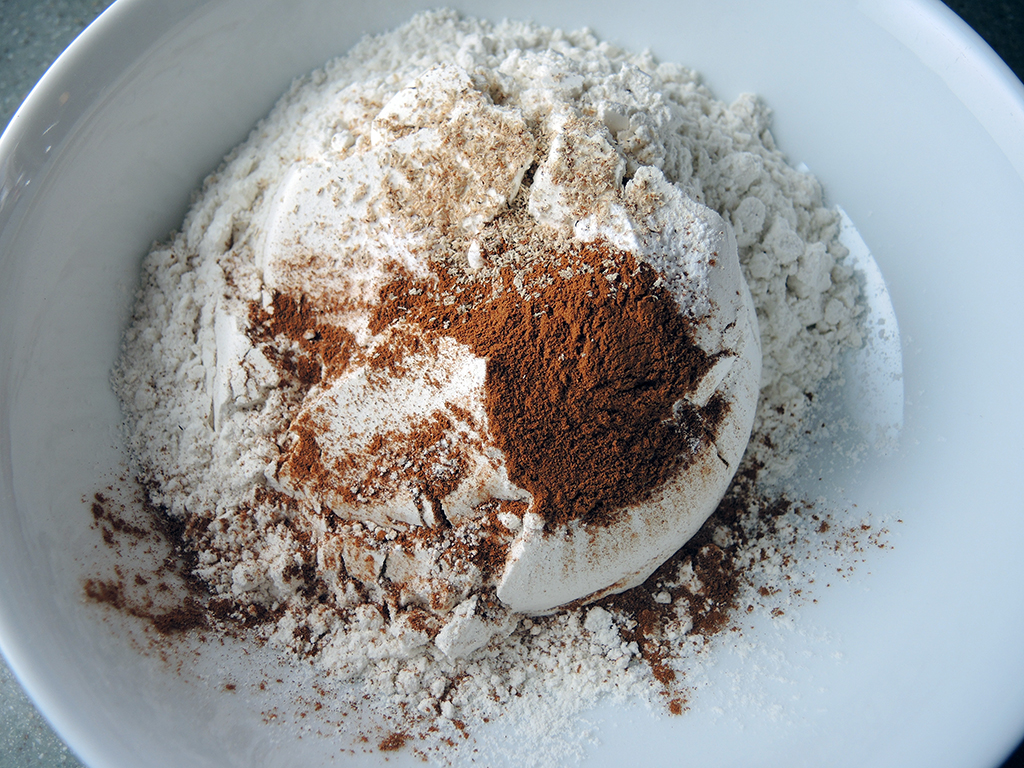
- In a large bowl combine the 1 and 3/4 cups of flour, 2 teaspoons of cinnamon, 1/4 teaspoon freshly grated nutmeg, 1 teaspoon baking powder, 1/2 teaspoon baking soda, and 1/4 teaspoon salt. Then mix them all together very well.

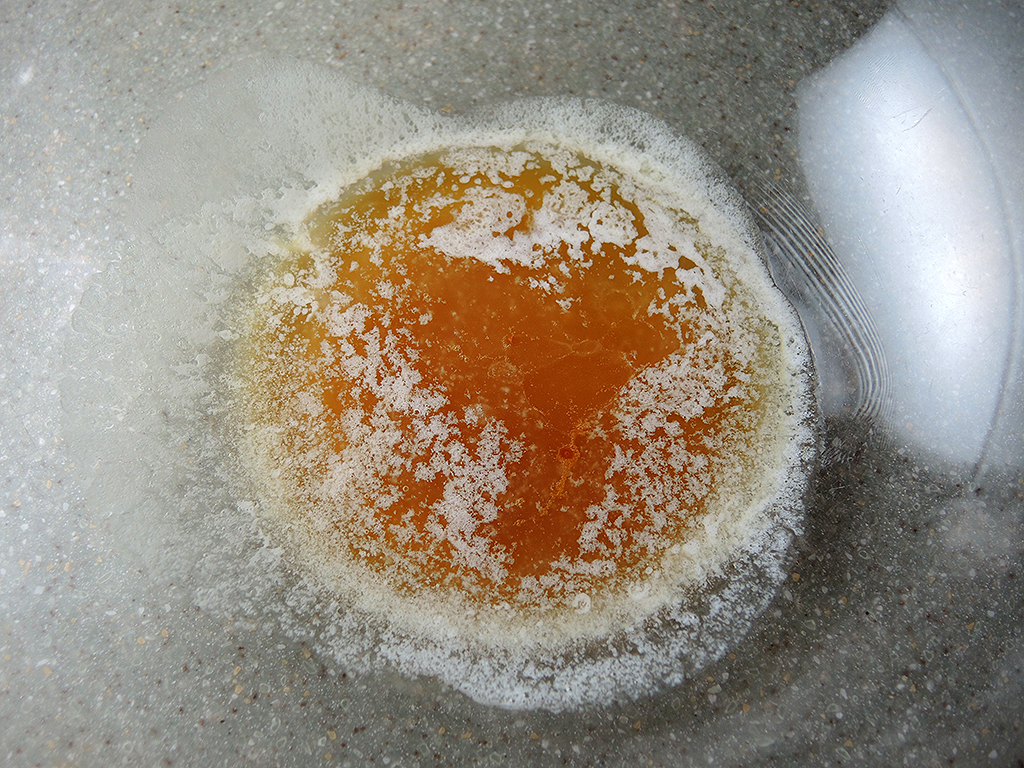
- In a large bowl, melt or soften two tablespoons of butter.

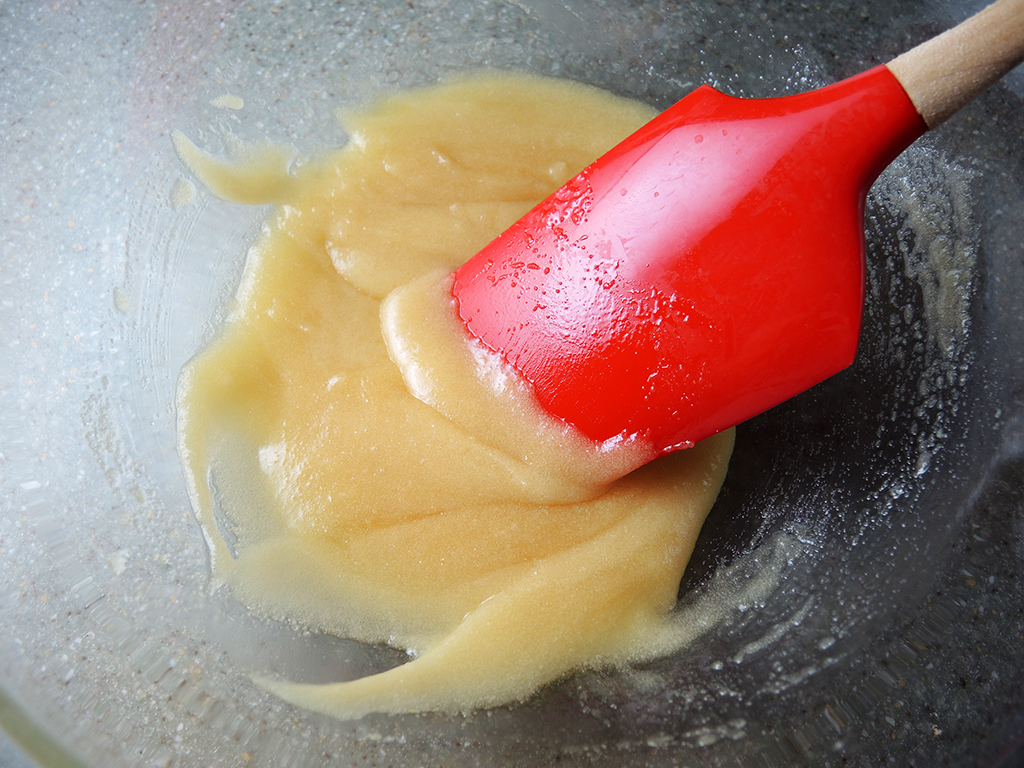
- Add in the 1/2 cup of sugar and mix everything very well.

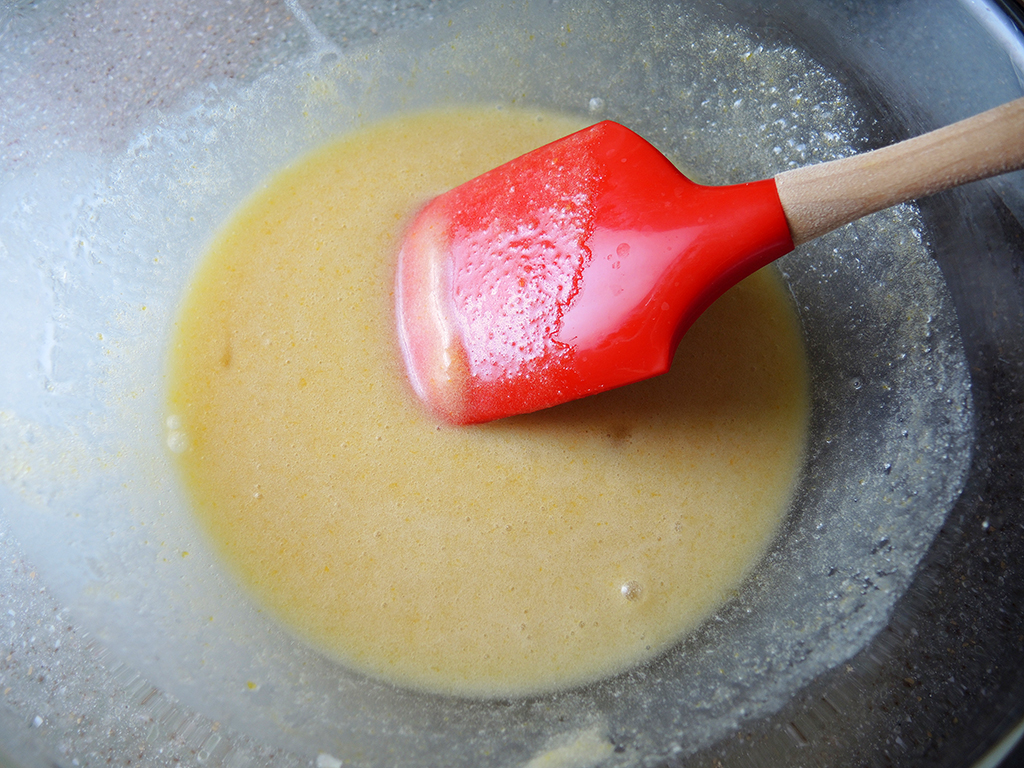
- Add in the egg and the milk or buttermilk. Mix well, but don’t over-beat the ingredients.

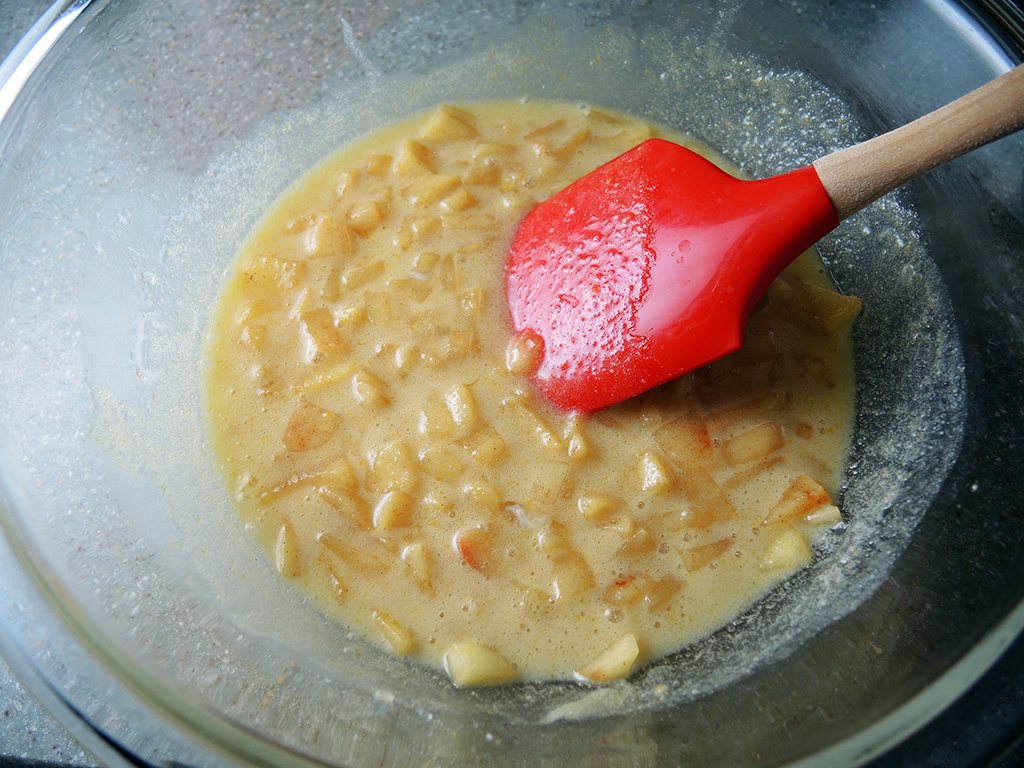
- Add in the cooled, sauteed apples as well as the cooled apple cider and mix everything together.

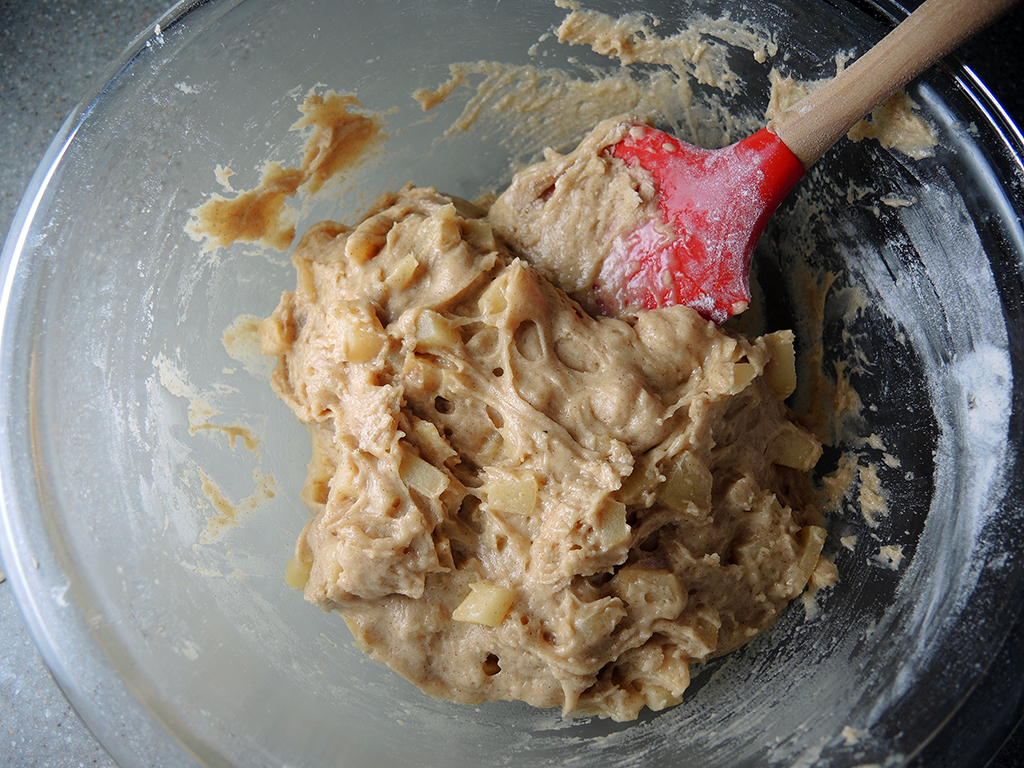
- Then start adding in the dry ingredients from the other bowl 1/3 at a time. Mix well after each third and before adding more dry ingredients.

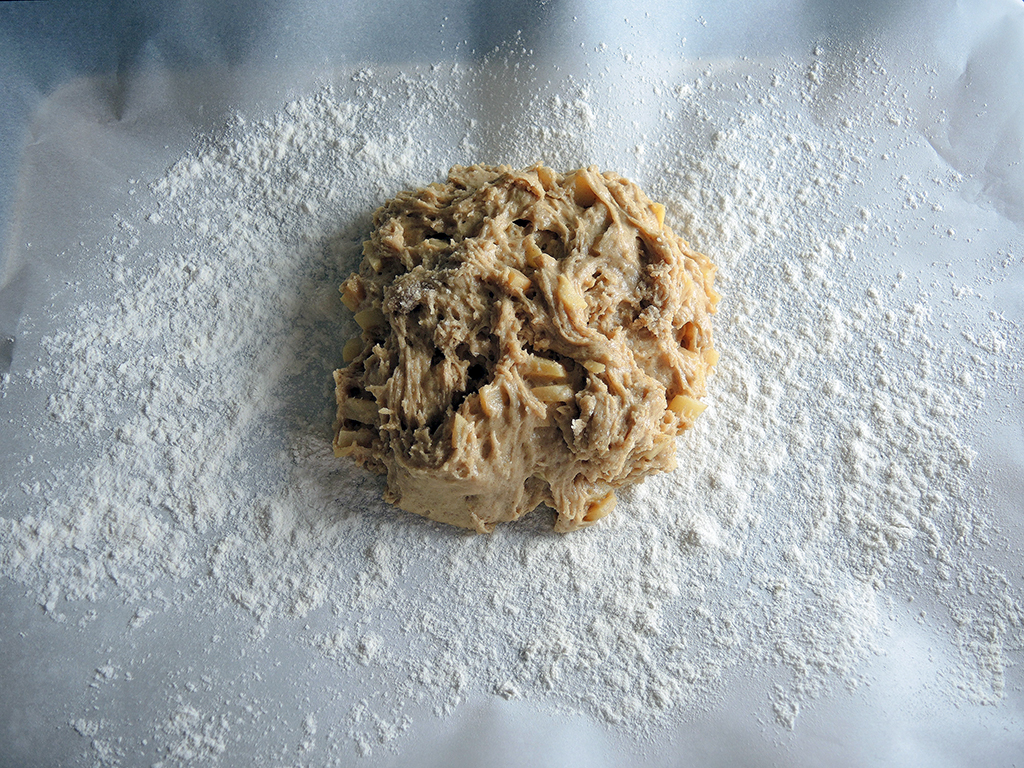
- On a large baking sheet, spread out a piece of parchment paper and dust it with a light layer of flour. Then pour out the dough onto the baking sheet.

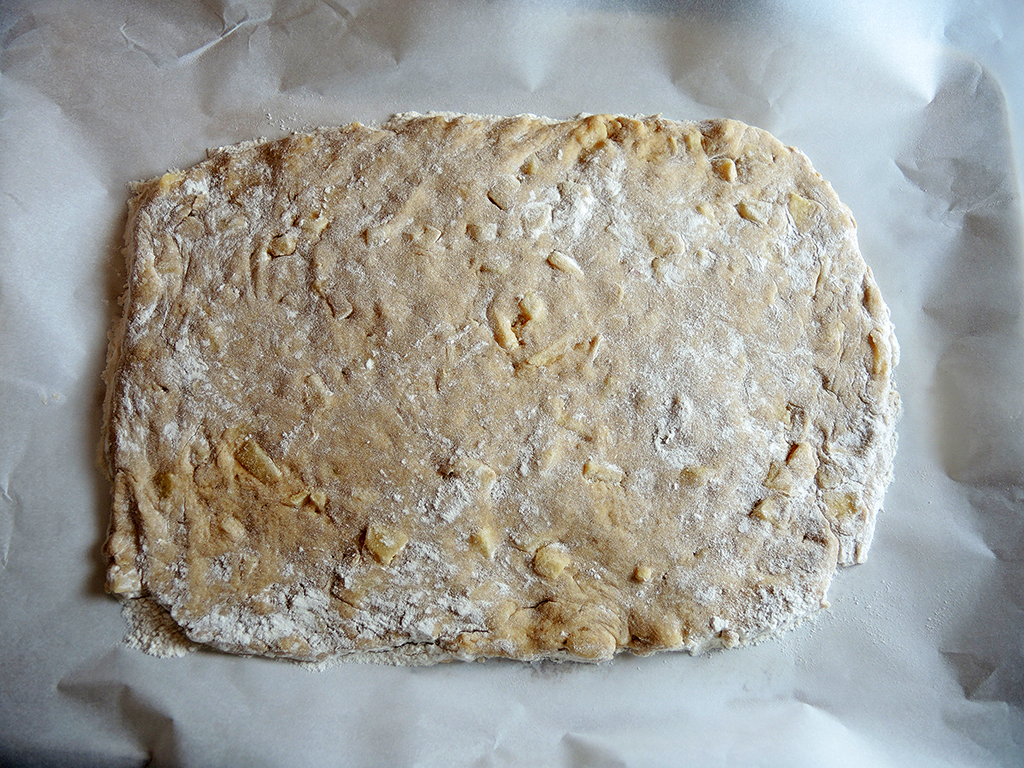
- Dust the top of the dough with more flour and then dust your hands with a good amount of flour. Using your hands, start spreading out the dough into a rectangular shape that is about 1/2 inch thick. Make sure the dough is 1/2 inch thick or slightly thicker, if you make the dough too thin, it won’t puff up and fry properly. Once you have the dough spread out, put it in the freezer for 20-30 minutes to firm up.

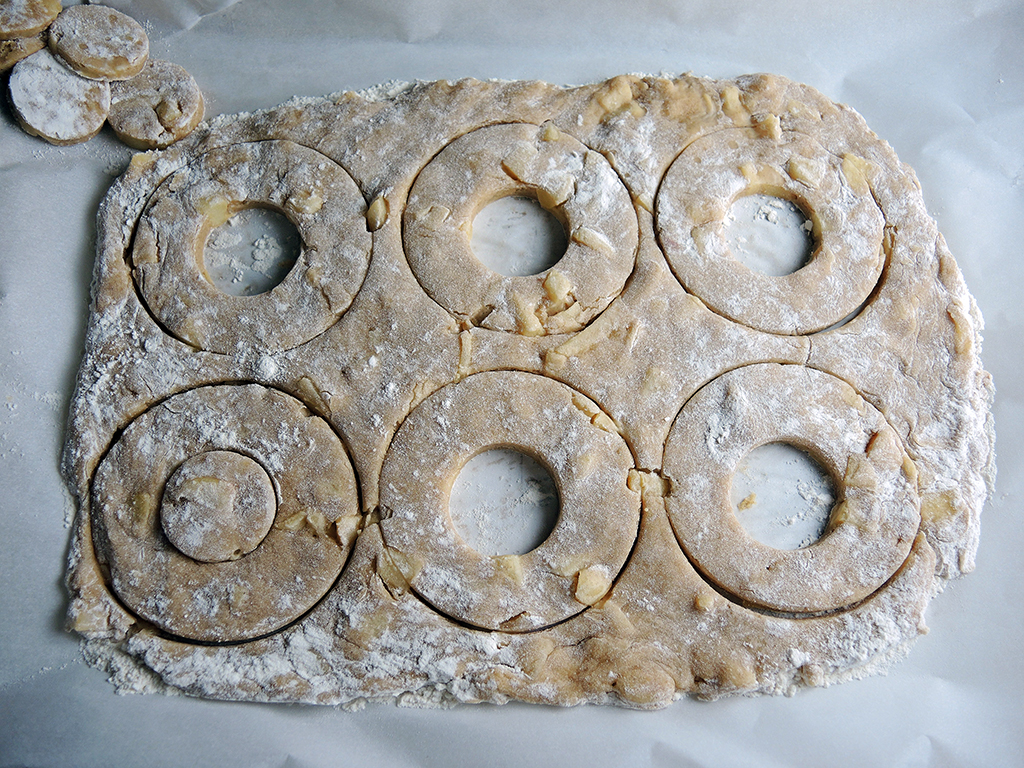
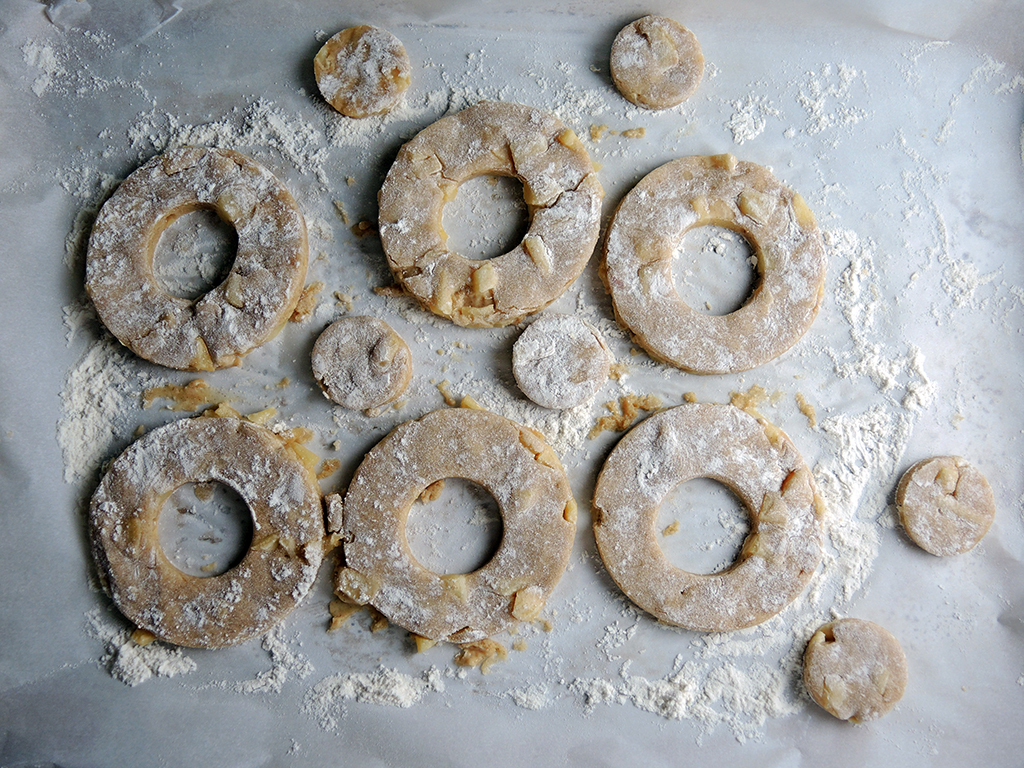
- Using 3 or 3.5-inch diameter doughnut or cookie cutters, cut as many circles in the dough as you can. Then use a 1-inch diameter cutter to cut out the centers of the doughnuts. You may be tempted not to cut out the doughnut holes, but the doughnuts may not cook evenly in the center if you don’t. If the dough is too firm out of the freezer, then just give it a couple of minutes to soften slightly.

- Remove the extra dough and set it aside. In my first pass, I was only able to cut 6 doughnuts, so I took away the extra dough and reformed it into another sheet. You will need to freeze that re-formed dough before cutting two more full doughnuts. Any extra dough leftover after that can also be fried, but you probably won’t have enough for any more full doughnuts. Keep the doughnuts on the baking sheet and place them in the refrigerator until you are ready to fry.

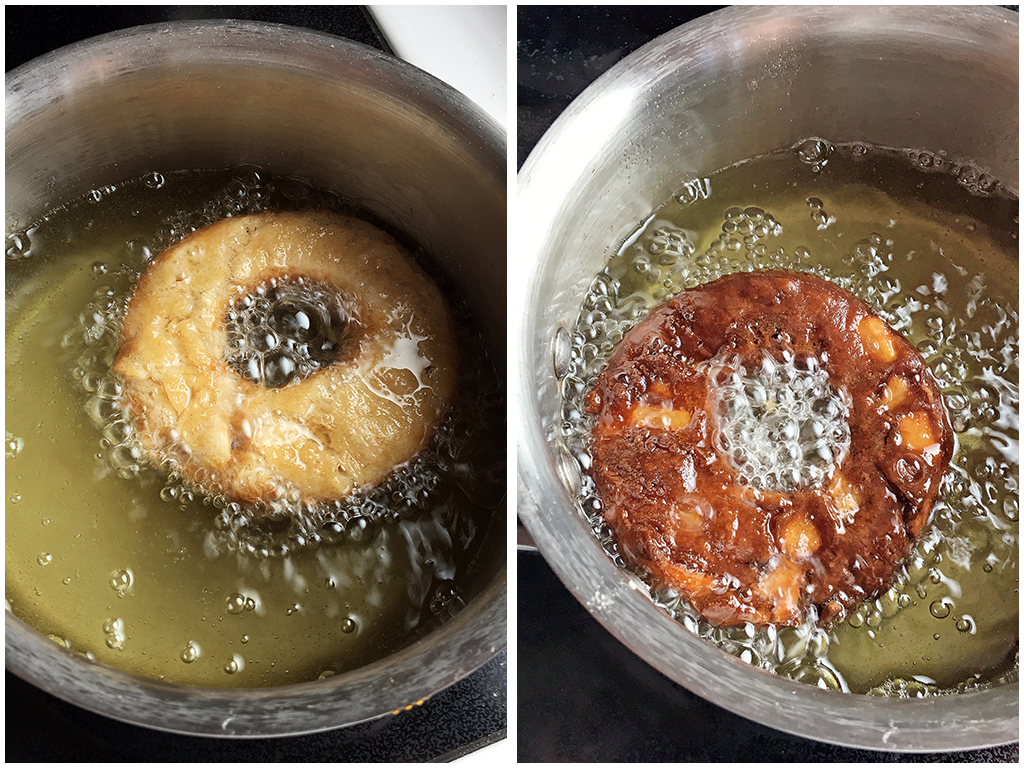
- Put about 3 cups of vegetable oil in a small pot (you want the oil to be 2 – 3 inches deep so that the doughnuts don’t touch the bottom of the pot) and bring the temperature up to 325 degrees F. If you set the stove to medium or medium-high heat, that should keep the temperature around where you want it. I used the extra pieces to test the oil before frying the actual doughnuts to see how fast they fried. Place some paper towels down on a plate or the baking sheet to absorb oil when the doughnuts are done.

- When you are ready to fry and the oil is at the right temperature start by putting in one or two doughnuts in at a time. I fried one doughnut at a time in the small pot, but I could fit 3 or 4 doughnut holes at the same time. These doughnuts will fry extremely fast, so be very careful. They can go from perfect (deep golden brown) to burned in about 5 or 10 seconds. What worked for me is 30-35 seconds or so on each side. When done, take them out and lay them on the paper towels to cool.

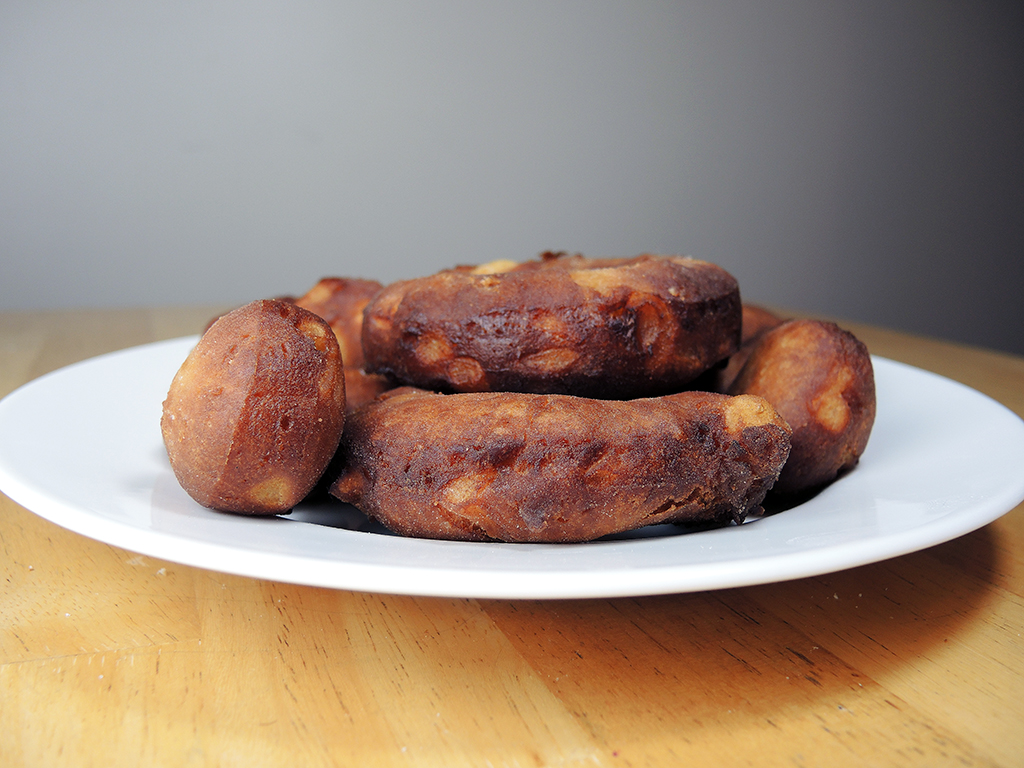
- When the donuts are hot right from the fryer, they taste a bit like carnival Doughboys. When they cool, they start tasking more like typical doughnuts, and by the next day, they start to taste like cake-y or old-fashioned doughnuts. All three of those phases are absolutely delicious. After that, they start to lose their freshness, so keep them in an airtight container.


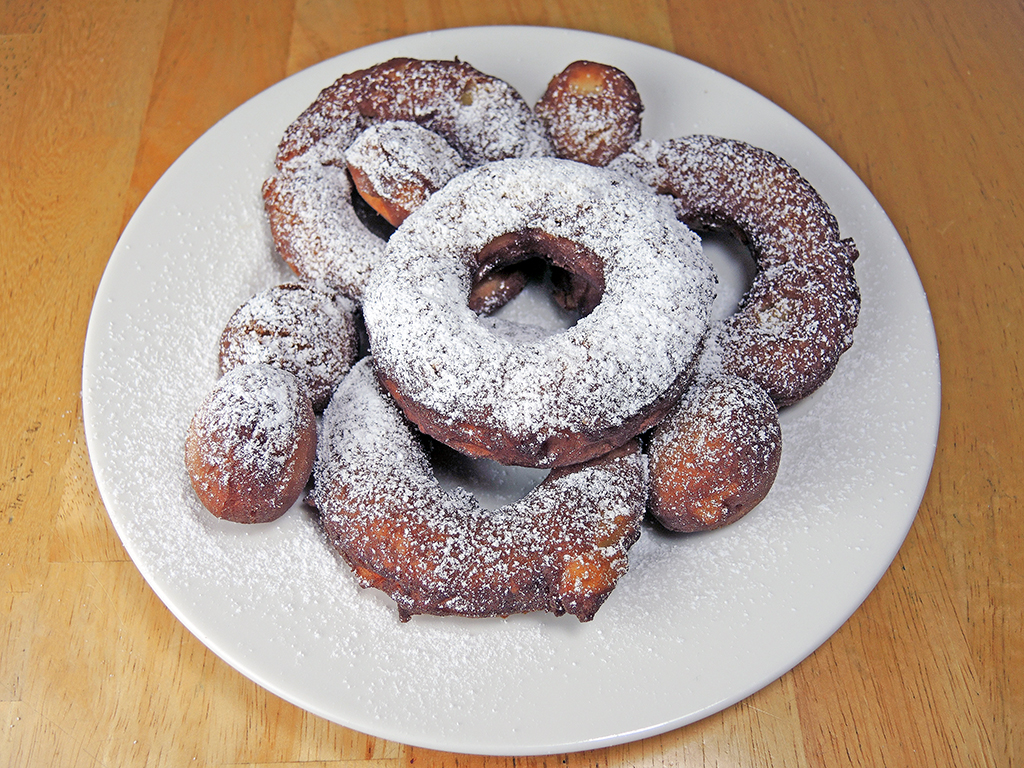
- The doughnuts are great plain, but if you want, you can also sprinkle a little bit of powdered sugar over the doughnuts by filling a fine mesh strainer with sugar and shaking it lightly over the doughnuts.


_______________________________
Please Support Home Is A Kitchen!
If you enjoyed this recipe, please support the blog by subscribing to receive updates on the latest posts.
No spam. Just real updates on recipes, restaurant reviews, travel, and free giveaways!
![]()
![]()
![]()
![]()
_______________________________

Awe man. These look amazing! We’ve discovered the gloriousness of apple cider donuts this year. We’ll have to try this recipe. Love the apple chunks in these.
Thanks Stacey! They were pretty good! Sometimes apple cider doughnuts end up just tasting like cinnamon, so I thought the apple chunks would provide more apple goodness!